
How to Record Audiobooks: 10 Essential Steps for High-Quality Author Recordings
Recording an audiobook can feel like a big leap—especially if you’ve never worked with microphones or audio software. But once you understand the audiobook recording process, it becomes much more manageable: you’re creating a quiet space, using a reliable setup, narrating in a consistent voice, and doing basic cleanup so your audio sounds smooth and professional.
In the U.S., audiobook demand is strong, and many authors want the format because it reaches commuters, gym listeners, and readers who prefer audio for accessibility and convenience. The challenge is that listeners have higher tolerance for “average writing” than “bad audio.” If the sound is echoey, the volume jumps around, or mouth noises are distracting, even a great book can lose reviews.
This guide keeps things practical and not overly technical. You’ll learn exactly how to record audiobooks at home with a simple setup, how to narrate with confidence, how to avoid common recording mistakes, and what a realistic workflow looks like from first chapter to final files.
How to record audiobooks overview
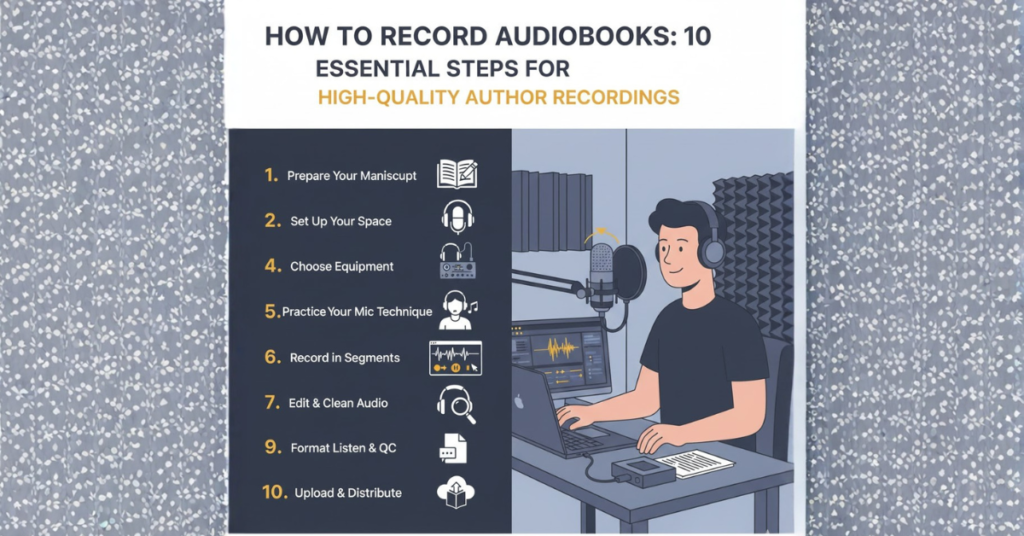
Here’s the simple big-picture flow. If you keep this structure, you’ll never feel lost:
- Prepare your script (and your voice)
- Set up a quiet recording space
- Choose your audiobook recording equipment and software
- Record in a consistent, repeatable way (chapter by chapter)
- Do basic audiobook editing and mastering (light cleanup + leveling)
- Proof-listen and fix errors
- Export and organize your files
That’s the entire audiobook recording workflow. The details below are just how to do each step without wasting time.
Step 1: Decide who should narrate (you or a narrator?)
Before you buy equipment, decide whether this is DIY audiobook recording or something you’ll record with another voice.
Narrate it yourself if:
- your book relies on your personal voice (memoir, nonfiction, business)
- you enjoy reading aloud and can stay consistent
- you can commit time (recording + retakes + proof-listening)
Consider a narrator if:
- the book needs strong character performance (especially fiction)
- you dislike hearing yourself recorded (it’s common)
- your schedule is tight
Even if you plan to narrate yourself, treat it like a performance job: practice, pacing, and consistency matter.
Step 2: Set up your “home studio” (quiet beats expensive)
Your room matters more than your microphone. Most “bad audio” comes from echo and background noise, not from the mic model.
A good home studio for audiobook recording has:
- soft surfaces (carpet, curtains, closet clothes, blankets)
- minimal hard echo (avoid empty rooms)
- consistent quiet (no AC blasts, street noise, barking, keyboard clicks)
A practical setup many authors use:
- a small room or walk-in closet
- a chair that doesn’t creak
- a desk setup where you can maintain the same mic distance every session
If you can reduce echo and keep the environment consistent, your recordings will sound dramatically more professional.
Step 3: Audiobook recording equipment (simple starter list)
You don’t need a studio full of gear. You need reliable basics.
Essential audiobook recording equipment
- Microphone (USB or XLR)
- Headphones (closed-back is best so sound doesn’t bleed)
- Pop filter (reduces “P” bursts and harsh air)
- Mic stand or boom arm (stability = consistent sound)
USB mic vs XLR mic (quick guidance)
- USB mics are simpler and can be great for beginners
- XLR mics require an audio interface but can offer more control
If you’re new, don’t get stuck comparing gear for weeks. A decent mic in a quiet room beats an expensive mic in a noisy room every time.
Step 4: Audiobook recording software (keep it comfortable)
For audiobook recording software, choose something you can learn quickly. The best software is the one you’ll actually use consistently without frustration.
What matters most in software:
- easy recording and saving
- simple editing (cut, trim, move)
- ability to record “pickup lines” (small fixes) easily
- exporting clean audio files
You’re not producing an album. You’re producing clear spoken-word audio.
Step 5: Prep your script like a pro (even if it’s your own book)
This step is underestimated. Script prep saves hours later.
Before you start:
- remove weird formatting that makes you stumble
- decide how you’ll pronounce names and places (make a pronunciation guide)
- mark emphasis on tricky lines
- note pauses and emotional beats
If you’re recording nonfiction, highlight:
- headings and subheadings (so delivery is clear)
- lists (so they sound natural)
- quotes (so listeners can follow)
If you’re recording fiction, decide early:
- how subtle or strong character voices will be
- how you’ll handle dialogue pacing
Consistency is more important than “acting.” Many listeners prefer calm, clear narration over theatrical performance.
Step 6: Record with a repeatable method (the key to clean audio)
A stable recording routine improves quality more than any single tool.
Mic technique (simple and effective)
- keep the same distance every session (about a hand’s span is a common starting point)
- speak slightly off-axis (not directly into the mic) to reduce plosives
- record standing if it improves breath control and energy
Record in chunks, not marathon sessions
A realistic schedule:
- 45–60 minutes of recording blocks
- short breaks for hydration and vocal rest
- avoid long sessions that create fatigue (fatigue changes tone and pacing)
Use a “punch-and-roll” style if possible
This means when you make a mistake, you:
- pause
- go back a line or two
- re-record smoothly
Instead of stopping and creating dozens of tiny takes.
This keeps your audiobook narration recording cleaner and reduces editing time.
Step 7: Common recording problems (and quick fixes)
Mouth clicks and dry mouth
- hydrate consistently (not all at once)
- avoid dairy right before recording (often increases mouth noise)
- keep a consistent room temperature
- take short breaks instead of pushing through
Plosives (“P” blasts) and harsh “S” sounds
- use a pop filter
- speak slightly off-axis
- don’t get too close to the mic
Background noise and echo
- record at the quietest time of day
- turn off unnecessary appliances
- add soft materials around you
- avoid empty walls
Clipping (audio distortion)
- if your sound is distorting, lower your input level
- keep volume consistent; don’t lean in on dramatic lines
You don’t need to obsess over perfect settings. You need stable, clean, repeatable audio.
Step 8: Basic audiobook editing and mastering (keep it light, keep it consistent)
You asked for “not too technical,” so here’s the practical truth:
Most authors need audiobook editing and mastering at a basic level:
- remove mistakes and long pauses
- reduce obvious noise issues
- keep volume consistent across chapters
Your goal is listener comfort:
- no sudden volume jumps
- no harsh peaks
- no distracting room noise
A simple workflow:
- Edit errors and retakes first
- Tighten pacing (remove awkward silences)
- Light cleanup (noise reduction only if needed)
- Leveling (make chapters match each other)
If you “over-process” audio, it can start sounding unnatural. Clean and consistent beats heavily filtered.
Step 9: Proof-listen like a reader (not like an editor)
Proof-listening is where you protect your reviews.
Listen for:
- missed words
- repeated lines
- mispronunciations
- inconsistent character voices
- volume differences between chapters
A smart approach:
- proof-listen at 1.1x speed to stay focused
- take notes with timestamps
- record pickup lines in one session and drop them in
This stage feels slow, but it’s what separates “home recorded” from “professionally produced.”
Step 10: File organization and chapter splitting (simple system)
Even if you don’t know every platform requirement yet, keep your files organized now.
A clean system:
- one folder per book
- one folder per “raw recordings”
- one folder per “edited”
- one folder per “final exports”
Name files consistently:
- 01_OpeningCredits
- 02_Chapter1
- 03_Chapter2
When your files are organized, revisions become easy. When they’re messy, revisions become painful.
How US Writers can help authors who want audiobooks but don’t want the headache
Recording audio is only one piece of the audiobook experience. Many authors discover that the real time sink is:
- making narration sound smooth and natural
- fixing pacing and clunky sentences that read fine on paper but sound awkward aloud
- tightening dialogue so it’s easier to perform
- polishing chapters so listeners stay engaged
At US Writers, we help with:
- manuscript polishing specifically for audio (flow, clarity, sentence rhythm)
- script prep support (pronunciation notes, read-aloud smoothing)
- audiobook editing guidance and cleanup workflows (so your audio stays consistent)
- quality control checklists to reduce “first-time narrator” mistakes
If you want your audiobook to sound professional and keep listener attention, we can help you prepare the content so the recording process goes faster and the final result is stronger.
Conclusion
Learning how to record audiobooks is mostly about building a repeatable system: a quiet space, a steady setup, clean narration habits, and light editing that makes the listening experience comfortable. You don’t need a fancy studio to start, but you do need consistency—because audiobook listeners expect smooth audio and clear storytelling.
If you want support polishing your manuscript for audio, preparing a narrator-friendly script, or improving the flow so recording becomes easier, US Writers can help you create an audiobook-ready version of your book that sounds professional and keeps listeners engaged.
FAQs: How to record audiobooks
1) What do I need to record audiobooks at home?
You need a quiet space, a decent microphone, closed-back headphones, a pop filter, and basic recording software. Most quality issues come from room echo and noise, so prioritize the space first.
2) Is it better to narrate my own audiobook or hire a narrator?
If your book is nonfiction or personal, author narration can be a strong fit. For performance-heavy fiction, a narrator may deliver stronger character consistency. The best choice depends on your voice comfort and timeline.
3) What microphone is best for audiobook recording for beginners?
A reliable beginner microphone that produces clean speech in your room is best. Don’t chase specs first—focus on reducing echo and keeping recording consistent.
4) How do I set up a quiet room without expensive gear?
Use soft materials to reduce reflection: curtains, blankets, rugs, or a closet with clothes. Record at quiet times and turn off noisy appliances.
5) What’s the step-by-step audiobook recording process?
Prepare your script, set up your room and gear, record in repeatable sessions, edit mistakes, do light leveling, proof-listen, record pickup lines, and export organized chapter files.